For optimum Zoom video and audio quality, you don’t need an expensive setup. Here’s how you can get great results with the devices you have at home.
Interestingly, one of the most common questions I get revolves around how to have an optimal audio and video setup for home video conferencing, whether using Zoom, Google Hangouts, or a different tool.
Here’s the thing, though: While it would be great if you had the best, top-of-the-line audio and video tools at your disposal, you can have a perfectly fine video conferencing setup to work with right there at home, using your existing gadgets and equipment.
That’s what today’s guide will focus on: optimizing your Zoom video and audio setup for video conferencing.
Zoom Video and Audio Setup Essentials
Regardless of which video conferencing app you’re using for your video call needs, you’ll be doing yourself (and your audience) a tremendous favor by making sure that you have a decent video and audio setup. And like I said, this is something you can achieve even with just the items you can find in your own home: your notebook, your earbuds from your smartphone, and other communications and broadcasting tools that would work well for video conferencing.
Another thing: Believe me when I say that while many people tend to obsess on the “video” in “video conferencing,” the quality of your audio can make or break your conference call. Think about it: Remember the last time you had to join a video call, and you ended up getting so irritated because the quality of the host’s audio sounded as if they were communicating through a tin can telephone?
Anyway, on with the guide.
The first step is to figure out exactly where you want to set up and broadcast from. Obviously, you’ll want to find a spot in your home with a fairly quiet environment. In my case, I decided to set things up in our kitchen for the purposes of this tutorial.
Now, there are a number of ways you can go about transmitting video and audio via your Zoom conference. The default option, and the option that most people without a proper setup tend to pick, is by using whatever built-in webcam and microphone your device comes with. This is the result (you can watch the video at 2:12 onwards to see and hear what it looks like):
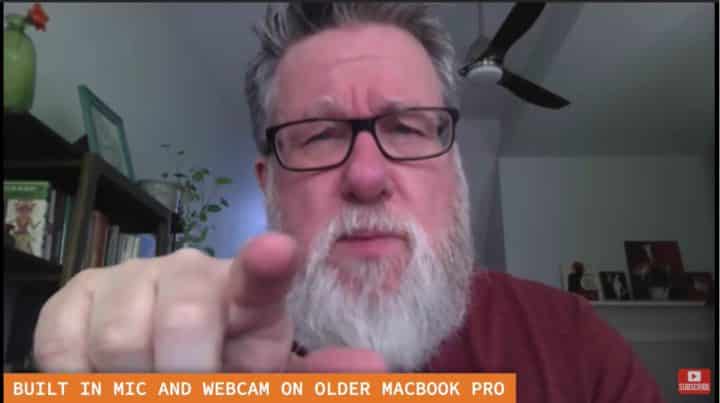
Here, I’m using my notebook’s internal mic and webcam. Aside from the low angle (more on that in a bit), the audio, for lack of a better word, sucks. Basically, this will get the job done, but it won’t be stellar by any measure.
Next, I pulled out my old Logitech c920, a legendary webcam in its own right, which comes with stereo input microphones. I hooked it up to my notebook, and immediately noticed a dramatic improvement in video quality and a slight increase in sound quality (you can watch the video at 3:24 onwards to see and hear what it looks like).
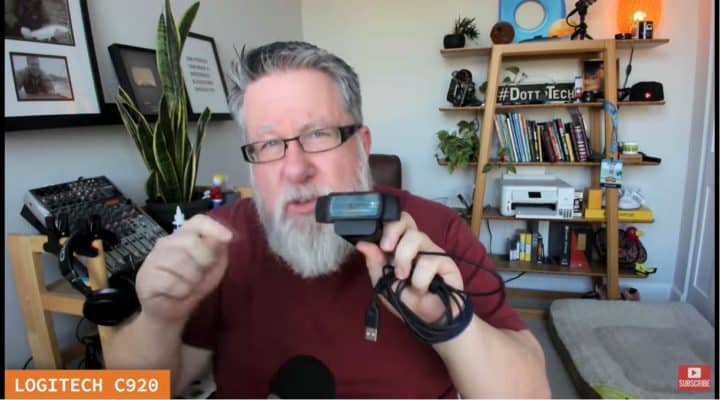
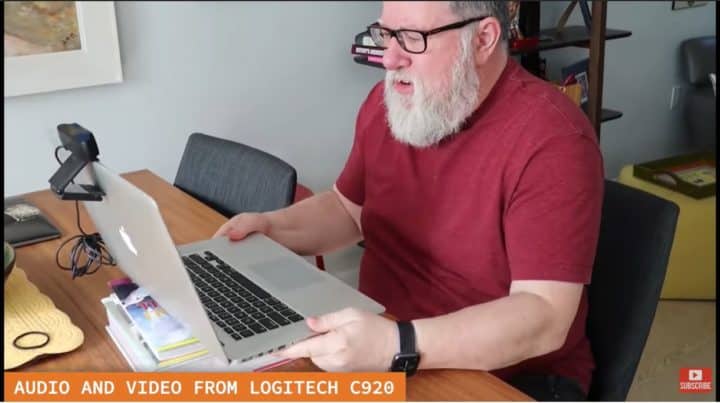
However, this didn’t really solve the problem of poor angles. So I tried to be resourceful by improvising: I placed a stack of books underneath my notebook to elevate it a bit.

Thanks to this and the area microphone, the video looks and sounds a lot better.
The next “level up” here would be the plug-in headset in that notebook computer, or a USB microphone, like a Blue Yeti or an ATR microphone. If you take this route, make sure to place the microphone close enough to you so that it can properly catch the sound. (Also, I’ve observed that a lot of people seem to put too much emphasis on hiding the microphone from view. My take? It doesn’t matter, because people won’t really care if they see your microphone as long as they can hear you properly. Also, in many cases, you’ll find yourself switching off your video because of bandwidth concerns, making it a non-issue.)

Oh, and there are two other points I’d like to add about video:
- Elevating the camera angle works wonders in terms of improving the visual aspects of your video call, because let’s be honest, the image of a human face from down below is not exactly flattering for most of us. (But if it works for you – congratulations, you won the genetic lottery.)
- When I recorded this demo, I had the benefit of natural daytime light through my window improving the quality of my video. Remember that light will always be a significant factor in these broadcasts, so make sure that your face is well-lit.
Video Conferencing With Your Tablet or Smartphone
Next, I want to talk to you about setting up your video conferencing, but using your mobile device instead of your computer as your primary video conferencing interface.
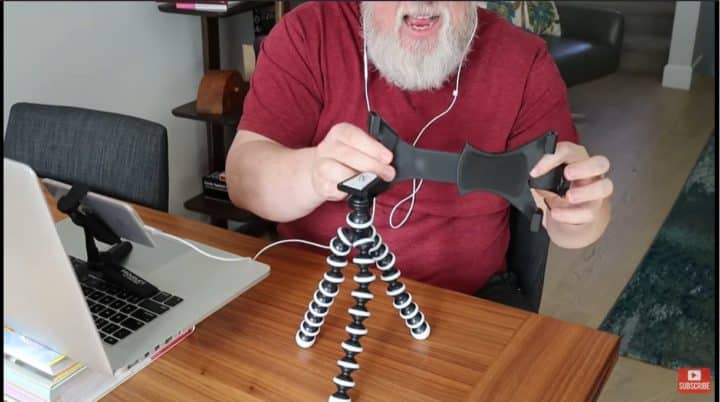
With this, you can take advantage of your smartphone or tablet’s far superior microphone and camera. All you really need is a decent tripod, like this:
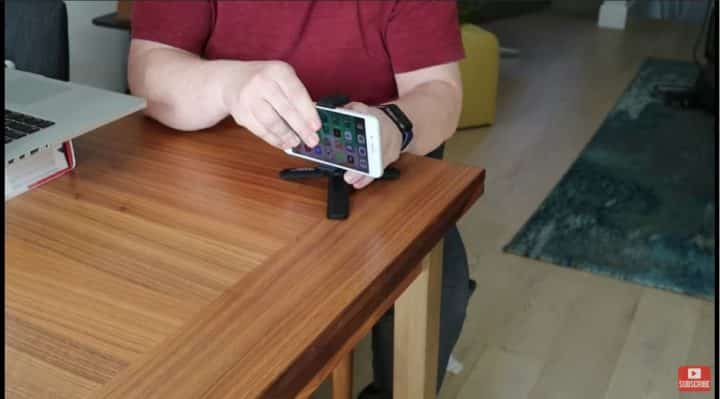
Just put your phone there, and then you can use it for video conferencing with ease! Plug your headset into it, and you’ll get even higher audio/visual quality.
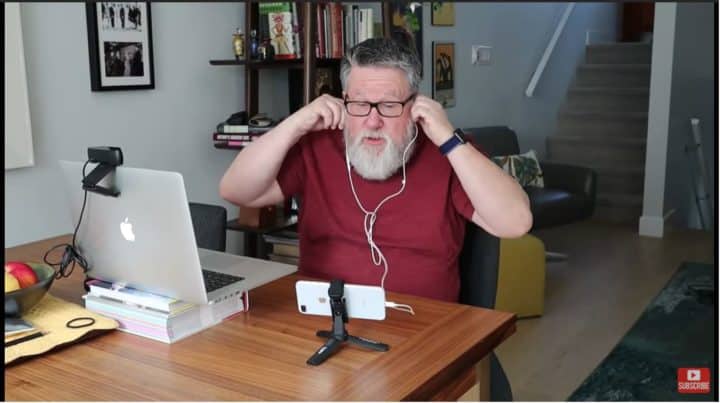
Another great thing about doing this is that it effectively frees up your computer for other tasks. Now, instead of relying on your notebook for broadcasting the video itself, you can work on an entirely different thing as you’re having your conference (if you’re a great multitasker).
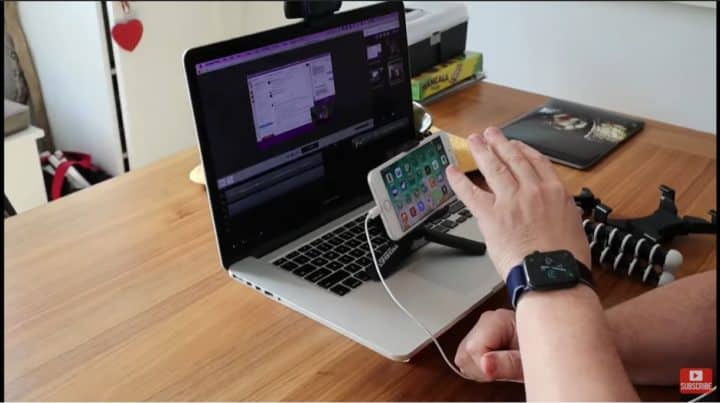
With your tablet or smartphone, the right clip, and a sturdy tripod, you can even get creative with your angles.
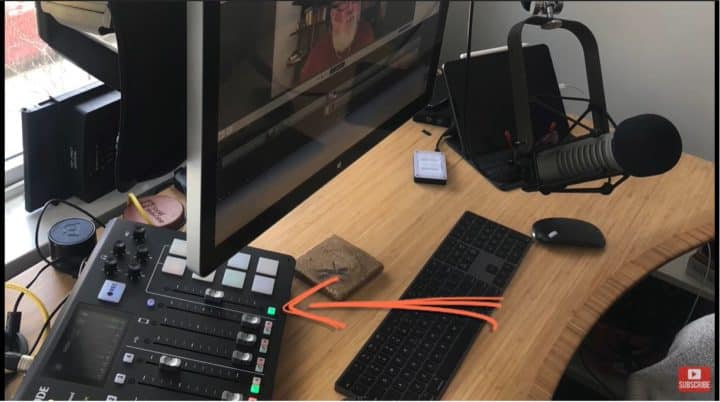
As for my personal setup, here’s what I use (though I have to be honest, packing this much gear is a bit of overkill for just video conferencing).
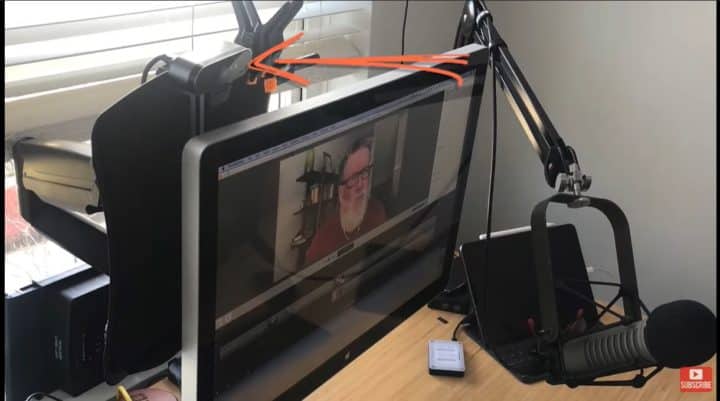
- Logitech BRIO – A bit high-end and a bit more expensive, but I love it.
- Electro-Voice RE20 – A high-quality XLR mic, ideal for broadcasting.
- RODECaster Pro – An excellent mixer for podcasting.
Again, you don’t really need to have such advanced equipment for this. Trust me, with a decent USB mic or headset mike, you’ll drastically improve 90% of your video calls.
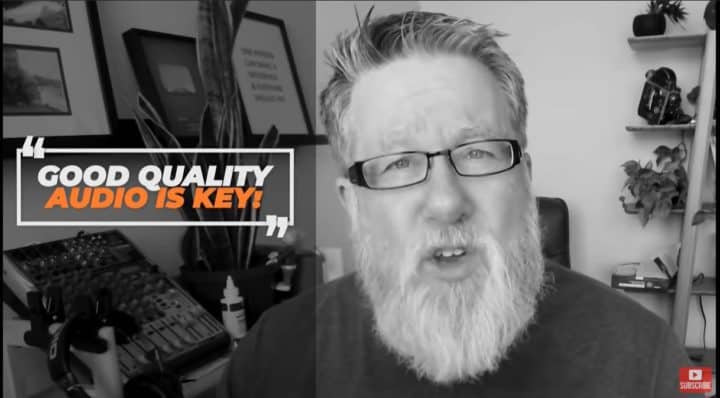
I hope that knowing how to achieve great video and audio quality with your existing hardware at home helps you feel more comfortable about video conferencing. In this new normal, I can tell that we’re going to be embracing this system for quite some time. You can watch the full tutorial here.
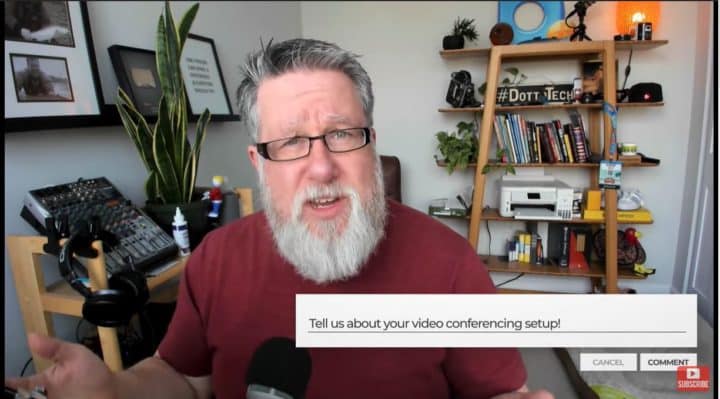
Setup Your Home Video Conferencing: Zoom Audio and Video Tips
- I have had so many people asking me about their setup for home video conferencing whether using Zoom or Google Hangouts, or another tool. So today, I thought we'd go through basic setup. From the what you can find around just kind of cobbling together your own decent video conferencing setup through to the sort of setup that I'm using which does, I think, pretty darn high quality video conferencing. So setting up your video conferencing to work from home today on Dotto Tech. Steve Dotto here, how the heck you doin' on this fine day? As I record this video, we are in the throes of the Covid-19 shutdown, and so many people now have to start doing video conferencing from home, and many people are using Zoom for video conferencing but other tools are being used as well. Regardless of which tool you're using, you can do yourself a favor by having a decent setup as far as video conferencing is concerned. Now, I'm gonna go through the basic setup of things that you can just kind of find around your own home just using your own notebook and maybe your ear buds from your smartphone, all the way through to higher end setups that we use for broadcasting our livestreams, what work exceptionally well for video conferencing. So it all really begins with figuring out where you are going to work from. Finding a fairly quiet environment that you can work within because sound is so important. People tend to obsess on what's happening as far as the video is concerned on the video conferences, I guess cause it's called video is the first word, but to be honest, it's far more important getting good quality audio. People will, they will be happy to conference with you if you have poor quality video as long as your audio is good, but if your audio sucks it is gonna irritate everybody that has to listen to you. So lets get started, what about a basic setup? So I just went down into the kitchen, and imagine that I had to set up a conferencing setup and I'm gonna kind of walk you through the basic setup. So beginning with setting up just using your notebook computer, built-in webcam, and built-in microphone, and this is the result. Okay, I am recording this now using the internal microphone on the notebook, so you can hear the quality of the sound that you're gonna get, and I'm also using the internal camera that's built in right now to the computer. You can see the angle is low and it's kind of tinty, so let's see if we can step up the value just a little bit by recording using the webcam and using the built-in mic in the webcam, that's gonna be next. That's the baseline quality that we're gonna get. What I did next is I plugged in my old webcam. This is the Logitech C920, which is a very legendary webcam. If you take a look here in this webcam, you'll notice that it has speakers on either side, excuse me, microphones on either side, so it actually has stereo input microphones which will improve the quality of the audio. Now one thing to consider is the room that I'm in is fairly quiet and I have control over the audio, at least in this particular setup. If you're gonna be in a noisy environment or an echoey room, using an area microphone or using an open microphone like this one here might not be the best choice, but you'll see a dramatic improvement in the quality of the video and you'll also, I believe, hear an improvement in the quality of the audio. Okay, next up I've got the webcam now running from the Logitech C920, and I'm also using the built-in microphones that are built into the webcam. That's gonna improve things slightly, but the angle still looks terrible. So lets do this, let's just increase the height here a little bit by putting some books underneath, and see if that picks things up a little bit and makes it a little bit more acceptable. That's if you still wanna be using your notebook and you're in a fairly quiet environment. So this is option one. The simplest option is having the webcam, using a area microphone like this, and just elevating a little bit so that it looks a little bit better. From my point of view, that is a dramatic improvement in video conferencing quality. Just because we improve the quality of the sound by going from the built-in microphone in the notebook to the onboard microphone on the webcam. Next level up would be to plug in a headset into that notebook computer which is really as far as most of us would ever need to go as far as video conferencing, but if you want even better audio, you could then plug in a USB mic if you happen to have one available to you. If you have a Blue Yeti, or if you have an ATR or another version of a USB mic, you can consider plugging it in, but make sure that you configure the microphone properly. That it's close to you, that you follow the manufacturers recommendations for proximity. A lot of people worry about having the microphone in the video shot. I don't think you need to worry about that. Everybody knows that you have a microphone, so why worry about seeing it? Does it bother you seeing my microphone in my shot? No, it doesn't, so don't worry about that. Also as you start to kind of do more and more video conferencing, increasingly I suspect you will use video less and less. Why? Video takes up bandwidth and bandwidth is becoming increasingly dear as more people are conferencing from home and there's more stress on our infrastructure. So I think a lot of cases, good protocol will include turning off your video and just audio conferencing and being able to turn on your video when you're actually presenting or using screen sharing technology to help communicate. Two other points about the video before we leave this section. One, by elevating the camera angle we've got far more appealing picture. The image of a human face from down below looking up at the angle is not flattering for most of us. If it is flattering for you, congratulations. You have incredible genetics. For most of us, we don't look too good looking up at us. We look far better if the camera is at eye level or slightly above. So elevating the angle really helps the overall quality. The other issue is it's daylight as I recorded that demo and we had big windows facing towards me, so I was getting lots of natural light. The quality of natural light on your face is going to improve the quality of your video dramatically. So light is always going to be an issue. Next up, I want to talk to you about maybe considering setting up your video conferencing setup and not using your computer, but instead using your tablet or your smartphone as your video conferencing interface. Now often we think that we have to be using our computer for any sort of a Zoom call, but you can actually, or video conferencing call for that matter, but actually I think a way that we should really consider is using our smartphone. There are terrific apps, for instance Zoom has a terrific app, on your smartphone and overall the camera on your smartphone and the mic on your smartphone are superior to anything that we're gonna get as far as a webcam goes. So think about doing this, having this sort of a setup. There are a whole bunch of little tripods just like this one here. Take a look at this one, this is so cool. We just open it up like this, pop it open, and we can put our phone into this tripod and we can use it now as a video conferencing camera just like this. Or, better yet, we can plug our headset into it and get even higher quality out of it. Once again we can take it, oh gotta put it in the right side there, there it is. Once again, we can take this and we can elevate the height if we choose to, just using something like this, we can elevate the height up to there and make it look that much better as far as we're concerned. The beauty of doing this is it then eliminates the need for us to have to be using our computer, so it frees our computer up for, kind of, parallel working while you're video conferencing, as long as you are concentrating on both tasks at the same time. Using your smartphone with any one of a whole bunch of different types of tripods that you can set it up on top of. You can even set up your iPad. If you choose to use your iPad, there are brackets like this that will hold the iPad. Lots of different options as far as doing your video conferencing beyond just using your computer and a webcam. So you could consider having this kind of a setup here where I'm now on my smartphone. I am able to video conference from here and still I have access to my computer, should I need to be doing other work. The quality of the microphone that we're dealing with on the smartphone, being able to use our headset, or even just using the mic in the smartphone itself, vast improvement. I have to say, I really like the idea of using our smartphones and tablets to participate in video conferencing calls, freeing up our computer for other work and giving us a higher quality experience. The beauty is if you're using Zoom for these conferences, the Zoom app on both Android and IOS is really well designed. So as a participant, not necessarily as a host, but as a participant it is a joy to use and I think that you will benefit if you choose that. I know you're wondering about my personal setup here, so let me just quickly run through that. I use the Logitech Brio, which is their HD, their higher quality, high definition camera. A little bit more expensive, a little bit higher quality. My audio setup though is really kickass. I use a studio broadcast quality microphone, which is the Electro-Voice RE20. It's an XLR mic, it has to go through an audio interface. I used to use this old Behringer mixer but just recently I purchased the RODECaster Pro, which I am experimenting with and using and getting my head around, I'm really liking it. But this audio setup for video conferencing is really overkill. You're gonna get really good quality out of a USB mic, or even your headset mic, is going to be perfectly acceptable for 90% of video calls. I hope that I've put your mind as ease and that you now recognize that your existing hardware that you have in place in your home is probably gonna be sufficient for you to participate in video conferencing, at least for the short term. You won't be missing out on any aspect of it with the gear that you already have in place, and if you have more options well it's always nice to have some better tools to work with, but for the most part our basic setup is going to work just fine. I also hope that you've found this video useful and as I say it's put your mind at ease and maybe helped you transition a little bit if you are spending more time on video conferencing as our work environment shifts while we combat this virus in a worldwide basis. I imagine once we come out on the other side of the Covid-19 epidemic that work will shift, that our work habits will shift slightly as more people are comfortable with the concept of video conferencing. If you have found this video useful I would appreciate a thumbs up and for you to share it with others who might find it valuable. I look forward to your comments and questions. I read each and every one and respond to as many as I can. Also, check out our other videos, we've got a whole series of videos on video conferencing as so many of us are now focused on that as a big part of our work life. So there will be links below, as well as at the end of this video, to our other videos on the entire concept of video conferencing. Till next time, I'm Steve Dotto. Have fun storming the castle.
Important links:
Do you need to
STEP up your productivity?
If your answer is YES, then you should sign up to our free weekly Webinar Wednesdays to go behind the scenes and get tips and tricks on how you can 10X your productivity and become a better content creator.


